
11 travel photography tips you need to know
/
Creating realistic, strong, and unique photos can enhance your travel experience, but how do you accomplish it? There is a plethora of travel photography advice out there, but if you're just getting started, it may be overwhelming to sift through it all.
So, here are 11 of the best simple travel photography techniques to help you improve when shooting photos.
1. Do your research
Don't miss the chance to discover the best shooting locations on your trip. Location hunting or researching the place you are traveling to ahead of the trip will save you tons of time and give you a clear idea of where to go and what to see.
Scroll through Instagram, or other social media platforms, filter through hashtags and learn about the famous destinations you can visit. There’s also websites like TripAdvisor and WikiTravel that can help you plan your trip.
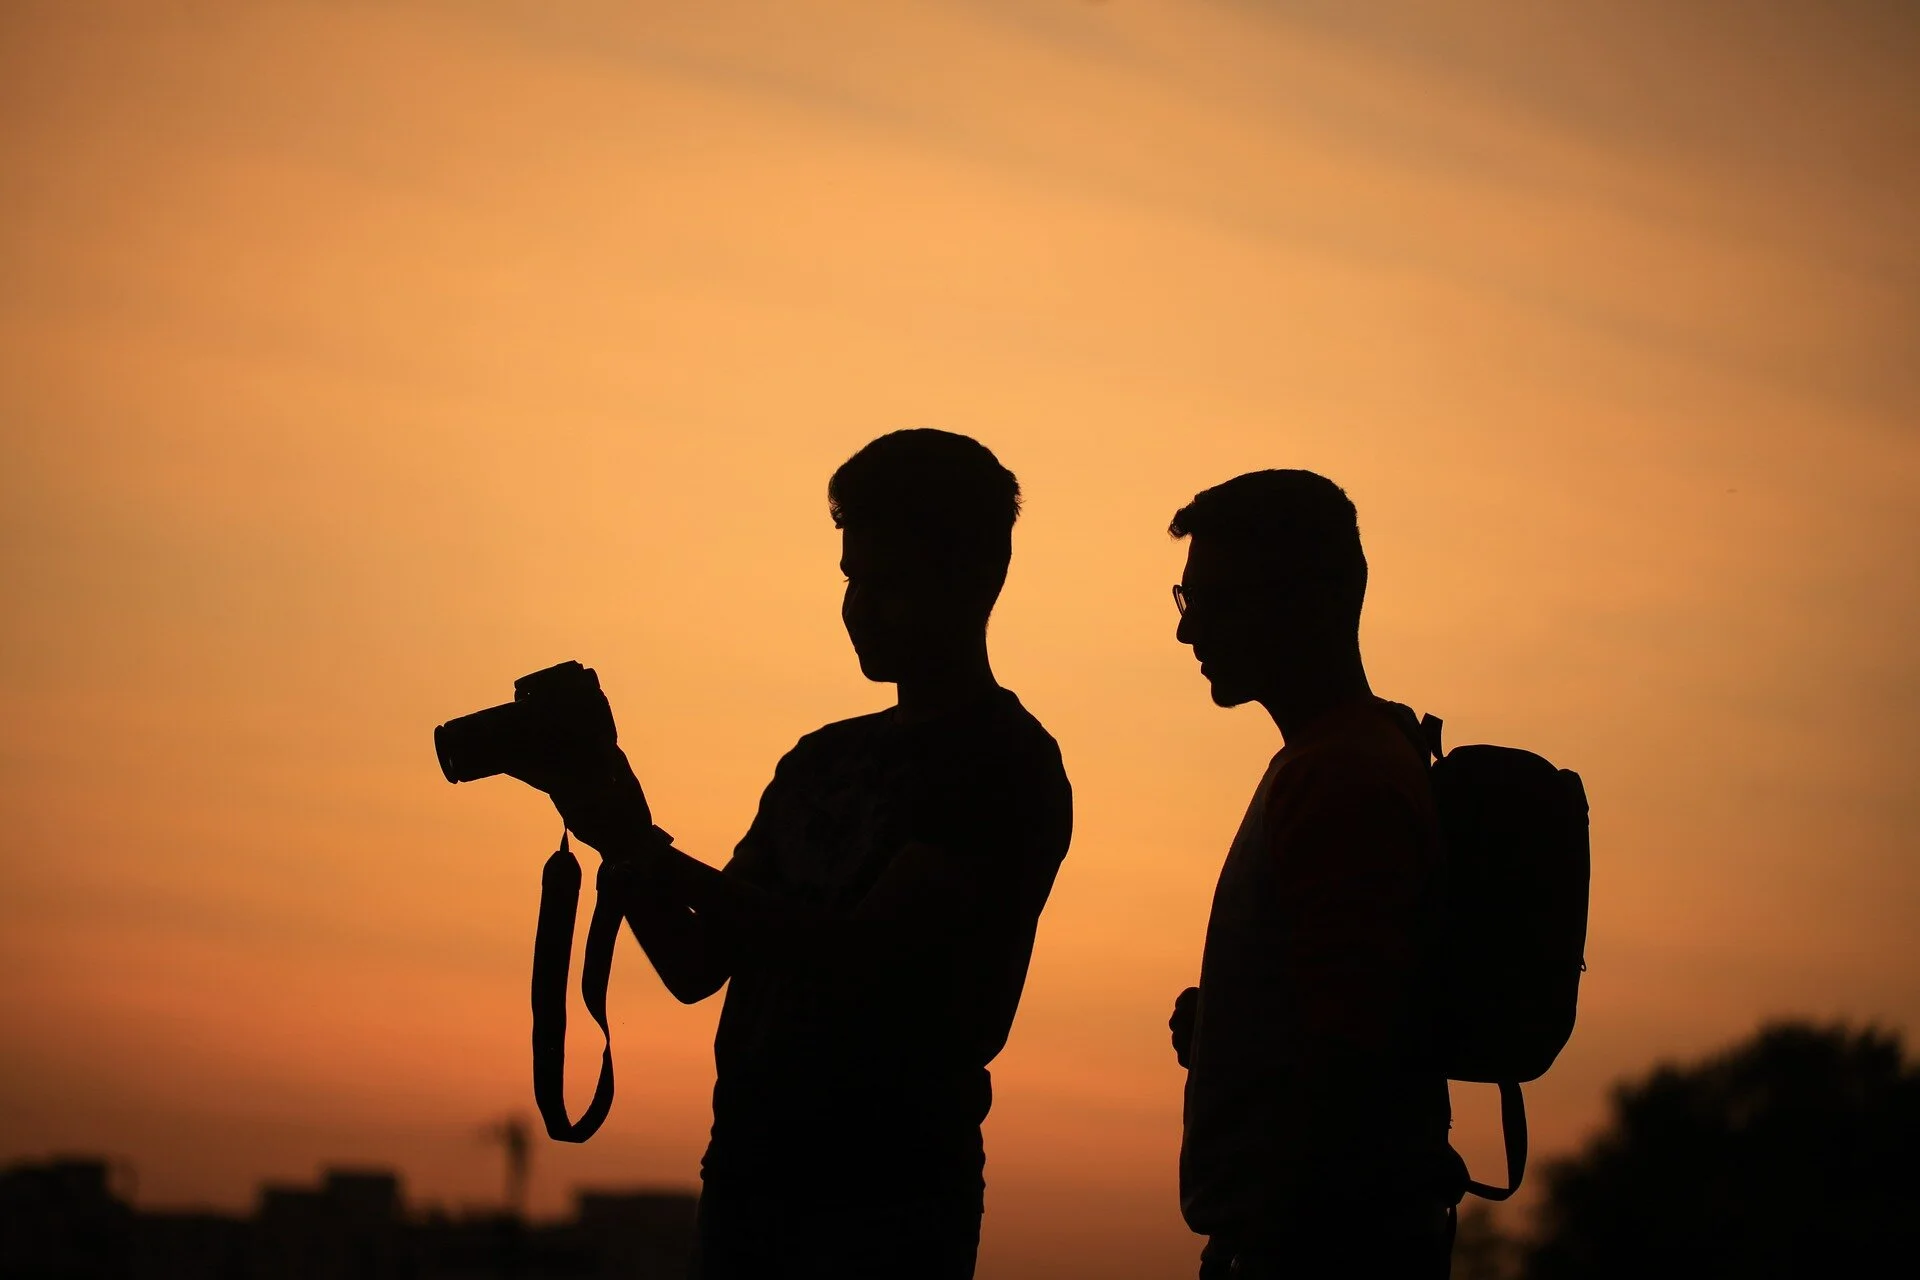
2. Learn your equipment
Don't squander your valuable holiday time understanding how to use that new camera, lens, or flash. Instead, learn how to utilise your equipment before you leave.
3. It doesn't have to be expensive

Two tourists take photos on their phone - a great way to take photos on your travels, and keep photography budget.
It is not always necessary to purchase expensive equipment such as costly flashes and filters. Especially when it comes to travel photography, the more you keep it natural, the more realistic the pictures will come out.
Henri Cartier-Bresson, one of the most significant and influential photographers of his time, never utilised flash in his work.
4. Experience the golden hour
Get creative when golden hour strikes!
The most crucial component of great photography when travelling is light and soft, and warm morning light produces stunning photographs. You'll also likely deal with fewer tourists and other photographers the earlier you get up.
Sunrise isn't the only time of day when it’s primetime for lighting - sunsets are also spectacular. Due to the smooth, warm tones and eye-pleasing shadows, the hour after sunrise and the hour before evening are known as “golden hours.”
5. Get accustomed to the culture
For many photographers, snapping local people can be difficult. What if they don't understand you if there’s a language barrier? What happens if they refuse? Are they going to be offended?
Make sure to ask for permission where possible. Then, before you arrive, spend 15 minutes studying how to say “Can I take your photograph?” in the local language. People appreciate the effort, and it's can be a fantastic opportunity to meet new people.
6. Be aware of local customs and ensure that your activities do not offend
Photographing rituals or celebrations, for example, may provide an excellent opportunity for intriguing images. But make sure your actions are not insensitive and they do not offend those around you.
7. Learn the ‘rule of thirds’

Understanding the ‘rule of thirds,’ one of the most basic and traditional photography techniques, can help you create more coordinated compositions. Consider dividing an image into thirds, both horizontally and vertically, to create separate sections.
The objective is to include critical aspects of the shot in those portions while still framing the overall image.
For example, instead of placing a person in the middle, place them along the left grid line. Alternatively, rather than splitting the image in half, maintain the horizon in the bottom third to give it a new perspective.
8. Break the conventional rules
While understanding your camera settings is vital, the composition of your photos is as crucial.
To create photos that are balanced and compelling, photographers follow a set of criteria. For example, filling the frame, paying attention to the background, and using complementary colours are all good composition techniques.
Composition rules, of course, are supposed to be guides and should not always be followed to the letter: don't allow rules to get in the way of your creativity.
9. Take a tripod
A tripod allows you to place your camera in a particular position and maintain it. Then, after you've fixed the camera, you can take your time composing the ideal shot.
Tripods allow you to photograph at much slower shutter speeds without having to worry about camera shake. You may use a lower ISO (to reduce sensor noise) and narrower apertures to bring more of the image into focus. When you use a tripod, you'll have find it easier to use your camera's manual settings.
A travel tripod makes a big difference for sharp landscapes, low-light photography and self-portraits, and it’s a good idea to get a lightweight one if you’re going to be carrying it around.
10. Include a human element
People enjoy seeing life through other people - it can evoke emotion and give greater meaning to images.
The human aspect also provides a better feeling of size. For example, you may get a better feel of how large those mountains are by placing your topic in the distance.
When people are featured in images, they appear to be more powerful. Depending on the sort of human element you choose to include, you may entirely modify the tale of a photograph.
11. Learn the manual mode of your camera

Manual settings can look daunting - but give them a go!
Learning how to use manual mode on your camera is a huge step forward in your quest for creating outstanding travel photography.
It will take some time to figure out the connection between shutter speed, aperture, and ISO. However, once you've mastered it, your photography will improve.
The sensitivity of the image sensor to light is known as ISO. As a general rule, keep this option at its lowest possible level (100) to avoid the appearance of grain in the image.
Using the exposure triangle above to learn how to operate your camera in manual mode is a beautiful way to get started. In addition, photo editing of these images will be more straightforward and much more realistic.
Shutter speed and aperture adjustments may be complicated, and the best settings will depend on what you're photographing. For example, when photographing events, you should prioritize shutter speed, and however, when taking portraits or still life, you may change the aperture.
Got any travel photography tips of your own? Let me know in the comments!


Travelling alone can be both daunting and exhilarating, so, to help with your debut, here are 11 tips for your first solo travel adventure.